
Blog
Moka Pot Coffee-to-Water Ratio: A Practical Guide
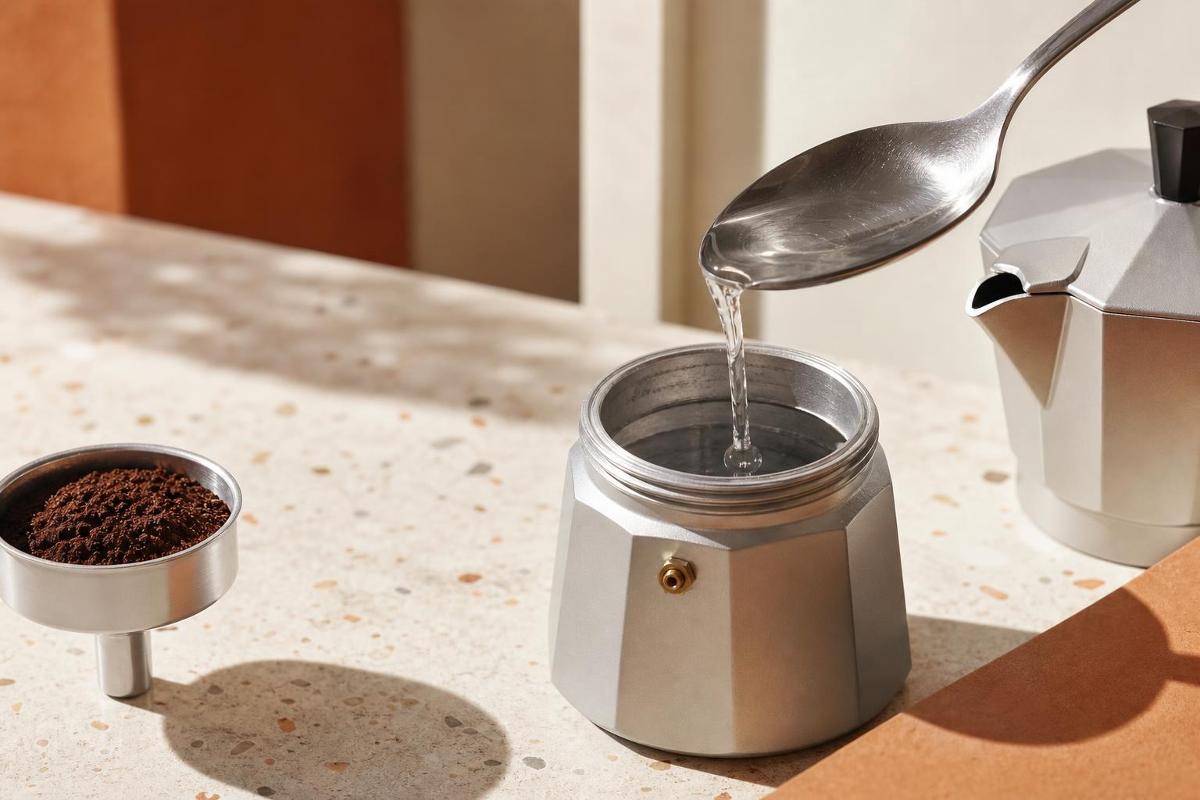
Find a practical moka pot coffee-to-water ratio, learn safe fill levels, and adjust grind and heat to brew a balanced cup with your stovetop brewer.
A moka pot uses a different coffee-to-water ratio from a filter brewer. Its basket and safety valve set practical limits, and some of the water in the base remains there after brewing. For a balanced cup, measure what you can, fill the basket loosely, and use the taste of the coffee to guide small adjustments.
How the moka pot coffee-to-water ratio works
A coffee-to-water ratio compares the weight of dry coffee with the weight of brewing water. For example, a ratio of 1:10 means one gram of coffee for every 10 grams of water. With a moka pot, it is important to specify whether you mean the water added to the base or the coffee collected in the upper chamber.
Water in the lower chamber heats and moves through the coffee basket into the upper chamber. Some water remains in the base, so the starting water amount is greater than the brewed coffee you collect. For a repeatable home recipe, it is easiest to compare the coffee dose with the water you add to the base.
As a starting point, try roughly 1 gram of coffee to 10–12 grams of water in the base. This is a guide, not a fixed specification. Pot size, basket capacity, coffee and personal taste all affect the result.
Is there one ideal ratio for every moka pot?
No. Moka pots come in different capacities, and each basket is designed to hold a particular amount of coffee. Scaling a recipe exactly between pot sizes may not produce identical results.
Start with the pot’s intended fill levels: water just below the safety valve and coffee filling the basket level, without being pressed down. These limits are more useful than forcing a precise ratio. If you add substantially less coffee or water than the pot is designed for, brewing may be less consistent.
Use the ratio to record a routine rather than as a reason to overfill or underfill the pot. Once you know how much coffee sits level in your basket and how much water reaches the correct level, you have a practical baseline for your model.
How to measure coffee and water
A kitchen scale makes it easier to repeat a brew and compare small changes. It is especially useful when switching coffees or adjusting a recipe.
1. Check your pot’s instructions. Follow its recommended capacity and fill guidance where available.
2. Measure the water. Fill the base to just below the safety valve. Weigh it if you want to record the starting-water amount.
3. Measure the coffee. Fill the basket level, then weigh the grounds. Do not tamp or compress them.
4. Record the details. Note the coffee, grind, water amount and taste so you have a useful reference next time.
Without a scale, use the pot’s fill marks or a familiar water level, and fill the basket level. Measuring by volume is less precise because coffee density varies, but a consistent routine still lets you make useful comparisons.
So, how much coffee and water should you use? Use enough coffee to fill the basket level, and add water to just below the safety valve. The exact weight depends on your pot and coffee. Do not exceed these practical limits to match a ratio.
A step-by-step moka pot brewing method
Use a clean, dry pot and follow any instructions supplied with your model. This method provides a steady starting point:
1. Add water to the base. Use fresh water and stop below the safety valve. Some brewers use hot water to shorten the time the pot spends heating; handle the hot base carefully if you do.
2. Fill the basket. Add coffee ground for moka pot use. Level it gently with a finger or the back of a spoon, without tamping.
3. Assemble the pot. Wipe stray grounds from the rim so the parts can seal properly. Screw on the upper chamber securely. If the base is hot, use a cloth or oven glove.
4. Heat gently. Use low to medium heat, with the handle away from the flame or heating element. The heat source should not extend beyond the base.
5. Watch the flow. Coffee should enter the upper chamber in a steady stream. When it turns pale or starts to sputter, remove the pot from the heat.
6. Finish the brew. If needed, briefly run the base under cool water to slow further extraction. Pour the coffee and stir it in the upper chamber to mix the first and last portions.
Avoid leaving the pot on high heat until it sputters loudly for a prolonged period. The final portion can taste harsher and more bitter.
How grind size and coffee choice affect the cup
The coffee grind for a moka pot is usually finer than a typical filter grind but coarser than very fine espresso grounds. Aim for a fine, even texture that is not powdery. Grounds that are too fine can slow the flow and make the coffee taste harsh; a grind that is too coarse may produce a weaker, less developed cup.
Freshly ground coffee makes it easier to adjust the grind and preserve aroma, while pre-ground coffee is convenient. If buying pre-ground coffee, look for one labelled for moka pot or stovetop use rather than assuming every espresso grind will work.
Coffee choice also affects flavour. A darker roast may taste fuller and more roasty, while a medium roast can bring out other characteristics, such as sweetness or fruit. These are tendencies rather than guarantees; origin, blend and roast all matter. Start with coffee you enjoy, then change one brewing variable at a time.
Adjusting the recipe to suit your taste
Once your method is repeatable, make small adjustments while keeping the pot’s fill limits in place. Change the dose only within what fits comfortably in the basket.
- For a stronger-tasting cup: Try a slightly finer grind if the coffee still flows steadily, or a small increase in coffee without packing it down.
- For a lighter-tasting cup: Try a slightly coarser grind or reduce the dose a little, provided the basket still works well with that amount.
- For a bitter or dry finish: Lower the heat, remove the pot sooner or use a coarser grind. Check that the coffee is not compacted.
- For a weak or sour-tasting brew: Check whether the grind is too coarse, the heat too low or the basket underfilled compared with its intended level.
Do not change the dose, grind and heat at the same time. Brew again after one adjustment and note what changed. This makes it easier to identify which part of the recipe suits your pot and coffee.
Common moka pot ratio mistakes
- Tamping the coffee: A moka pot is not an espresso machine. Pressing the grounds down can impede flow. Fill the basket level and leave the coffee loose.
- Filling above the safety valve: Keep water below the valve and do not block it. Follow the pot’s intended fill level.
- Forcing an exact ratio: A calculation should not lead you to overfill the basket or base. Practical limits come first.
- Confusing starting water with brewed coffee: Some water remains in the base. When comparing recipes, note whether the ratio uses starting water or collected coffee.
- Using a mismatched grind or excessive heat: Very fine grounds and high heat can contribute to a harsh cup. Adjust gradually and watch the flow.
- Waiting for prolonged sputtering: Remove the pot when the flow turns pale or begins to sputter, rather than waiting for it to run noisily dry.
- Changing several things at once: Keep a simple note of coffee, grind and water amount, then make one controlled adjustment.
Choosing coffee for a balanced moka pot brew
For Italian coffee for moka pot, look for clear information about roast style and brewing suitability. Italian roasters offer many blends and single-origin coffees; “Italian” does not describe one fixed flavour profile. Choose according to whether you prefer a rounded, chocolatey cup, a more pronounced roast character or a brighter, more aromatic taste.
A few details can help narrow the options:
- Check the grind description. For pre-ground coffee, look for moka pot or stovetop suitability.
- Consider the roast. Medium and darker roasts are common choices, but the best option is the one whose flavour you enjoy.
- Read the blend details. Origin, roast and tasting notes can help you compare products without relying on broad claims.
- Choose a manageable amount. Coffee gradually loses aroma after opening, so consider how quickly you will use the pack.
- Store it well. Keep coffee in a tightly closed container away from heat, light and moisture.
When shopping online, use product descriptions to compare the coffee, roast and grind rather than choosing by packaging alone.
Quick answers about moka pot coffee and water
What is a good moka pot coffee-to-water ratio?
Around 1:10–1:12 by weight is a practical starting point when comparing coffee in the basket with water in the base. It is not a universal specification. Follow the pot’s fill levels, then adjust to taste.
Should I measure water before or after brewing?
Measure the water added to the base for a repeatable recipe. Some water remains there after brewing, so the starting amount will not equal the coffee collected in the upper chamber.
Can I use less water or coffee than the pot’s capacity?
You can experiment, but moka pots are generally designed to work with the basket filled level and the water below the safety valve. Start with those intended fill levels for more consistent results.
Is espresso grind right for a moka pot?
Not always. Some espresso grinds are too fine. Aim for a fine, even grind that is coarser than very fine espresso grounds, and adjust if flow is slow or the cup tastes harsh.
Why does my moka coffee taste bitter?
Possible causes include high heat, a very fine grind, compacted coffee or leaving the pot on the heat until it sputters strongly. Change one factor at a time to find what works for your pot and coffee.
A balanced moka pot brew starts with the pot’s fill limits, a level basket and steady heat. Measure your routine if possible, then make small changes to the grind or dose. Choose coffee with a roast and grind description suited to stovetop brewing and the flavours you enjoy.
Sources
- How to use the Moka Express? — Bialetti
- Experimental investigation of steam pressure coffee extraction in a stove-top coffee maker — Applied Thermal Engineering
- Coffee brewing methods and their chemical and sensory characteristics — Food Research International
Explore the related selection here: Moka Pot vs French Press: Which Coffee Maker Is Right for You?.
Explore the related selection here: Vergnano Bio Coffee: Formats, Brewing and Buying Tips.
Explore the related selection here: Aroma Mio Coffee: A Practical Guide to Choosing and Brewing It.
Explore the related selection here: Why Is Your Moka Pot Sputtering? Causes and Easy Fixes.