
Blog
How to Descale a Coffee Machine Safely
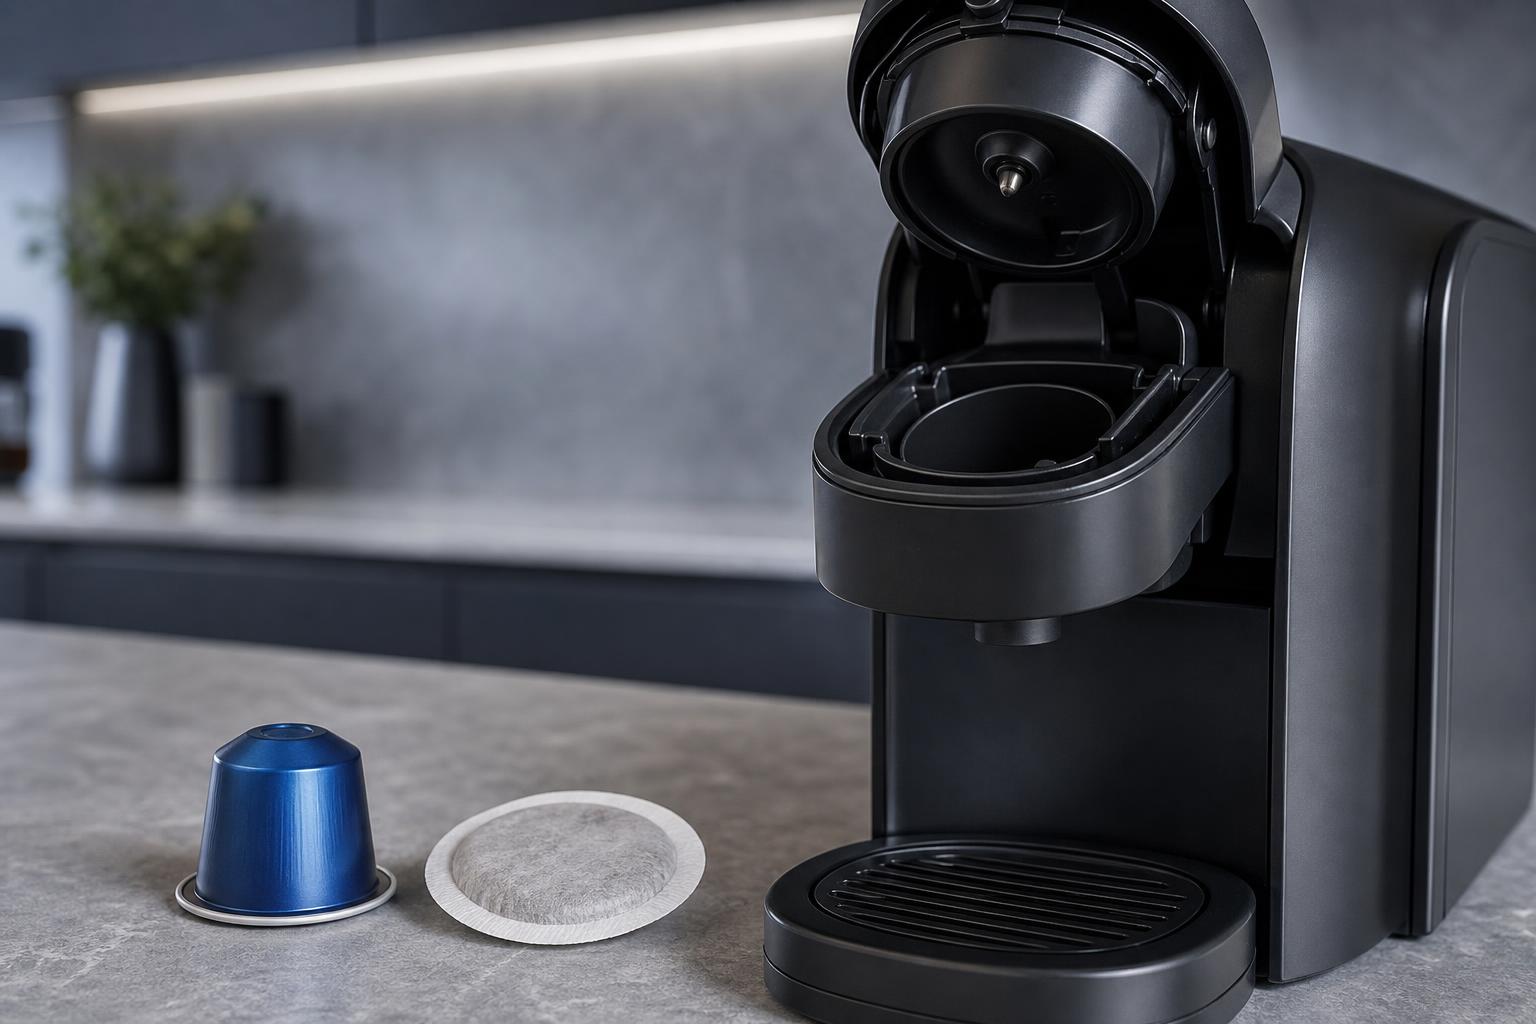
Learn how to descale a home coffee machine safely, choose the right solution, rinse thoroughly and avoid common mistakes such as using vinegar.
A clean coffee machine supports consistent flavour, reliable performance and a better daily brewing routine. Descaling removes mineral build-up from the water circuit without unnecessary stress on internal parts. The right method depends on your machine, water hardness and the descaler recommended by the manufacturer.
Why descaling your home coffee machine matters
Descaling removes mineral deposits from the boiler, thermoblock, heating element and other parts that carry heated water. If limescale builds up, you may notice:
- Slower water flow
- Longer heating times
- Unusual noise during brewing
- Less consistent water temperature
- A smaller amount of coffee in the cup
- Changes in flavour
- A descale indicator light
Severe deposits can restrict the water circuit and place additional strain on the machine. Descaling does not replace everyday cleaning, but it is an important part of maintaining an espresso machine, bean-to-cup machine or filter coffee maker.
Even high-quality Italian coffee beans cannot taste their best if stale water, coffee residue or mineral deposits affect the brewing process.
Explore the related selection here: How to Choose Reduced-Caffeine Coffee Capsules.
Explore the related selection here: Bialetti Pregiato Coffee Beans 1kg: Brewing Guide.
Explore the related selection here: Caffè Moreno Coffee Guide for Home Brewing.
Explore the related selection here: ESE Pod Size: Check Machine Compatibility First.
What is limescale and how does it affect coffee machines?
Limescale forms when water containing calcium and magnesium is heated. It is especially common in hard-water areas and appears as a white, chalky deposit around taps, kettles and shower fittings.
Inside a coffee machine, it can collect in:
- The water inlet and internal tubing
- The boiler or thermoblock
- The heating element
- The brewing circuit
- The hot-water outlet
- The steam wand circuit
These deposits can reduce water flow and interfere with heat transfer, making brewing less consistent. A water filter may reduce mineral build-up, but it does not always remove the need for descaling. Replace filters according to the manufacturer’s instructions.
How often should you descale a coffee machine?
There is no universal schedule. Frequency depends on:
- Tap-water hardness
- How often you use the machine
- Whether it has a water filter
- The machine type
- The manufacturer’s maintenance instructions
- Whether a descale warning appears
Some machines calculate when descaling is needed, while others provide an interval based on usage or water hardness. Use the manufacturer’s schedule as your starting point. Hard water and frequent use may require more regular descaling.
Reduced flow, unusual sounds or a persistent warning light should not be ignored. However, descaling too often with a strong product may be unnecessary and could place avoidable stress on seals or internal parts. Check the manual or the manufacturer’s support information if you are unsure.
What you need before you start
Prepare the following items:
- The coffee machine’s instruction manual
- The recommended coffee-machine descaler
- Fresh water
- A large container for used liquid
- A soft cloth
- Access to a sink
- A clean towel, if needed
Choose a product clearly intended for coffee machines. Liquid descaler dissolves easily, while tablets or powder must be mixed exactly as directed.
Citric acid may be suitable for some machines, but it is not a universal solution. Concentration and compatibility vary, and some manufacturers specify their own formula. Before starting, remove any pod, capsule or beans that could be affected. Allow hot components to cool if required, and never open a boiler, housing or sealed internal component.
How to descale a home coffee machine: step-by-step
The procedure differs between manual espresso machines, capsule machines, bean-to-cup machines and filter coffee makers. Always give the manufacturer’s instructions priority.
Read the manufacturer’s instructions
Find the section covering descaling, cleaning or maintenance and read it before adding anything to the water tank. Check:
- The correct descaler and quantity
- Whether dilution is required
- Which buttons activate the programme
- Whether the water filter must be removed
- How long the process takes
- Whether the machine must be on or off at a particular stage
- How many rinsing cycles are required
Automatic machines may have a dedicated programme. Manual models may require a specific sequence through the brew group, hot-water outlet or steam wand. Using the wrong sequence can interrupt the process or leave solution in the water circuit.
Empty and prepare the machine
Remove and empty the water tank. Empty or rinse the drip tray and used-coffee container as appropriate. Remove the portafilter and filter basket from a manual espresso machine, or take out the used capsule from a capsule machine.
Check whether the water filter must be removed before descaling. Position a large container beneath the coffee outlet, hot-water spout and steam wand if the programme uses them. Make sure it will not overflow.
Protect polished, painted or sensitive surfaces from descaling liquid, and keep the machine on a stable work surface.
Add the recommended descaling solution
Measure the descaler carefully and add it to the water tank exactly as instructed. Some products are ready to use, while others must be diluted with a specific amount of water.
Do not guess the concentration. A stronger mixture is not necessarily more effective and may not suit the machine’s seals or internal components. Never mix descaler with bleach, detergent or other household chemicals.
If using citric acid, follow the product instructions rather than a general recipe. If the manual does not approve it, use the recommended branded or manufacturer-approved descaler instead.
Run the descaling programme or cycle
Start the dedicated programme if your machine has one. It may pause while the solution passes through different parts of the water circuit. This is normal for many automatic models.
For a manual machine, follow the stated sequence for brewing and hot water. You may need to run part of the solution through the group head and part through the hot-water outlet or steam wand. Do not operate controls that the manual does not mention.
Stay nearby, check that the container does not overflow and avoid interrupting the programme unless instructed. The liquid may look cloudy or contain small particles as deposits loosen. Do not extend the process beyond the recommended time.
Rinse the water circuit thoroughly
When the programme ends, empty and rinse the water tank. Fill it with fresh water and run the complete rinsing cycle. If there is no automatic rinse programme, run clean water through the brewing outlet and any hot-water or steam circuit specified by the manual.
Empty the collection container and repeat the rinse if the manufacturer recommends more than one cycle. Continue until there is no noticeable descaling smell or taste. A quick flush may not be sufficient.
Refill the tank with fresh drinking water. Refit the water filter only when the instructions allow it, usually after descaling and rinsing are complete.
Clean and reassemble removable parts
Wash the water tank, drip tray, coffee container and filter basket with warm water and mild detergent if permitted. Rinse each part thoroughly so no detergent remains.
Wipe the exterior with a soft, damp cloth. Clean the steam wand according to the machine’s instructions by briefly purging it and wiping the outside with a clean cloth.
For a manual espresso machine, check the portafilter and group-head area for trapped coffee residue. For a bean-to-cup machine, follow the instructions for cleaning the brewing unit. Some units are removable, while others must remain inside the machine.
Dry or wipe removable parts before reassembling them. Check that tanks, trays and seals are correctly positioned. Make a small test coffee or dispense some water before preparing your usual drink. If the water tastes unusual, rinse again.
For more coffee options, explore the related selection of Ground coffee.
Common mistakes to avoid when descaling a coffee machine
Vinegar is often suggested as a household limescale remover, but it is not automatically suitable for coffee machines. Its acidity and smell may affect seals, internal components or the flavour of future coffees. Some manufacturers expressly advise against it.
Use vinegar only if the manufacturer specifically allows it and provides instructions. Otherwise, choose the recommended descaler.
Other common mistakes include:
- Using a bathroom or kettle descaler not approved for coffee machines
- Guessing the dilution ratio
- Leaving coffee, a capsule or a pod inside the machine
- Failing to remove the water filter when instructed
- Skipping the rinsing stage
- Stopping an automatic programme halfway through
- Pouring descaler into parts not designed to hold liquid
- Using abrasive sponges on painted or polished surfaces
- Ignoring a descale indicator light
- Treating descaling as a replacement for daily cleaning
A moka pot needs a different approach. Do not put one in a dishwasher unless its manufacturer permits it, and avoid aggressive products on aluminium models. After each use, separate the parts, discard the coffee grounds, rinse with water and let everything dry. Periodically inspect the filter plate, funnel and rubber seal, replacing worn parts when necessary.
Descaling a home coffee machine is straightforward when you use the correct product, follow the machine-specific programme and rinse thoroughly. Check the manual, respond to warning lights and adjust the schedule to your water and usage. Regular maintenance helps keep your equipment dependable.